The Robot Masters in Mega Man 11 can be quite the tricky bunch if you don’t have a handle on each of their weaknesses. It’s a good job then, that this handy guide on how to beat every boss in Mega Man 11 will provide you with all the answers you need to become a true Mega Man master.
Whether you are finding a certain boss impossible to cope with or you aim to beat each one without spending a single bolt in the shop, we have you covered. This guide will take you through every single major and mid-level boss that the Blue Bomber will face in this brand new 20XX adventure.
ROBOT MASTERS
How To Beat Acid Man In Mega Man 11
Weapon Received: Acid Barrier
Weakness: Block Dropper
Acid Man’s weakness lies in the falling rubble of Block Man’s Block Dropper. First off, destroy his acid shield to expose the toxic tinman. While he’s defenceless, drop a few more sacks of stone and mortar onto his dome. Make sure to keep your eye out for when he dashes across the screen in the pool of acid. Once he dives out again, lay some more bricks from above. Keep this process going and you will have him beat in no time.
How To Beat Blast Man In Mega Man 11
Weapon Received: Chain Blast
Weakness: Blazing Torch
Using the Blazing Torch attack will quickly demolish Blast Man as long as you land your shot on target. Slow down time with the Speed Gear just as he feeds the sky with a line of bombs. Look for an empty space (usually next to him) and simply pelt him with fire.
How To Beat Block Man In Mega Man 11
Weapon Received: Block Dropper
Weakness: Chain Blast or Blazing Torch
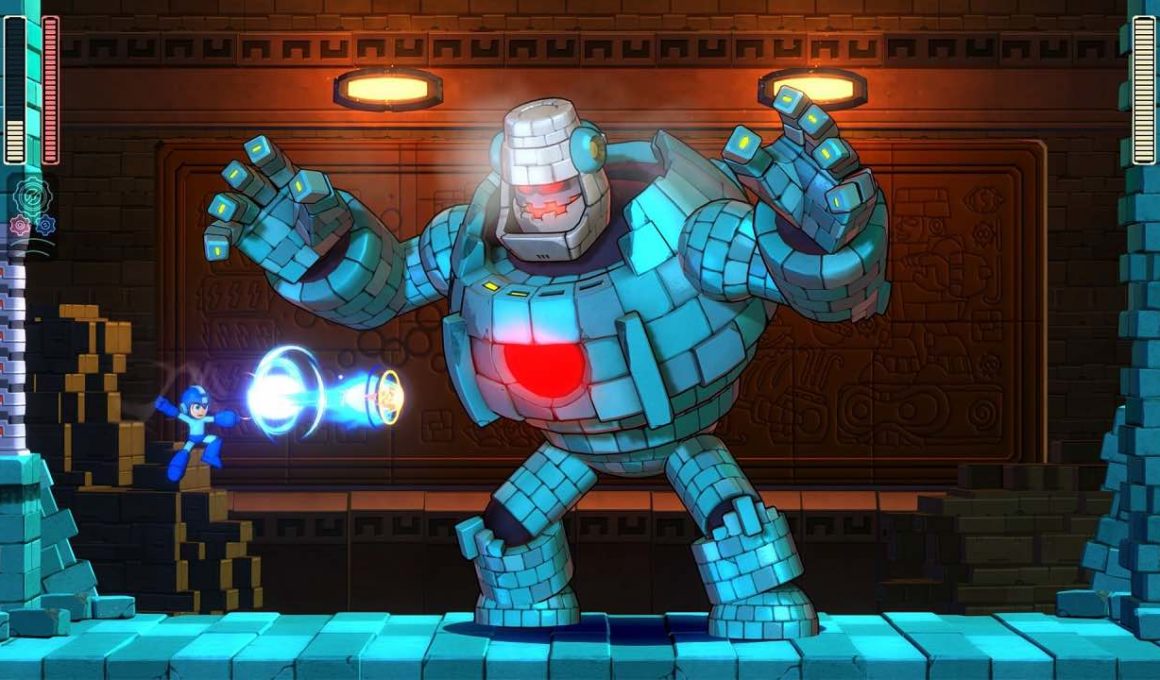
Block Man is slightly different to most other Robot Masters because he can change his form into a gigantic version of himself. The best way to approach Block Man is to begin by charging your standard Mega Buster to send home the first heavy hit. Carry on spamming him with lemons while avoiding his falling blocks and simple jump patterns. Once he becomes humongous, keep an eye on his attacks. Switch the Power Gear on and send a couple of souped-up Chain Blasts towards his chest. Finally, when Block Man shrinks back to his normal size, he will get a bit miffed off and start throwing bricks at you. Time your jumps, power up your Mega Buster and finally tear him apart like a paper house.
Side Note: The Speed Gear can be particularly useful to read his giant attacks and keep him exposed for longer. Torch Man’s Blazing Torch is also a good tool to use due to its reach, downward arch and decent damage potential.

How To Beat Bounce Man In Mega Man 11
Weapon Received: Bounce Ball
Weakness: Pile Driver
Take a grip of that shank you took from Spike Man and slam it into the soft gut of Bounce Man. Slow time down to ensure you stab him with the pointy end to easily puncture the pink prototype.
How To Beat Fuse Man In Mega Man 11
Weapon Received: Scramble Thunder
Weakness: Bounce Ball
As long as you can read Fuse Man’s first two attack patterns, the Bounce Ball will pretty much do the job for you. The good news is that you can aim the Bounce Ball weapon at an angle to give you a better chance to slam him with the rubber stuff. Remember to keep on the move – especially when he goes ballistic. You can always turn the Speed Gear on if you want to get a clearer shot on target.
How To Beat Impact Man In Mega Man 11
Weapon Received: Pile Driver
Weakness: Acid Barrier
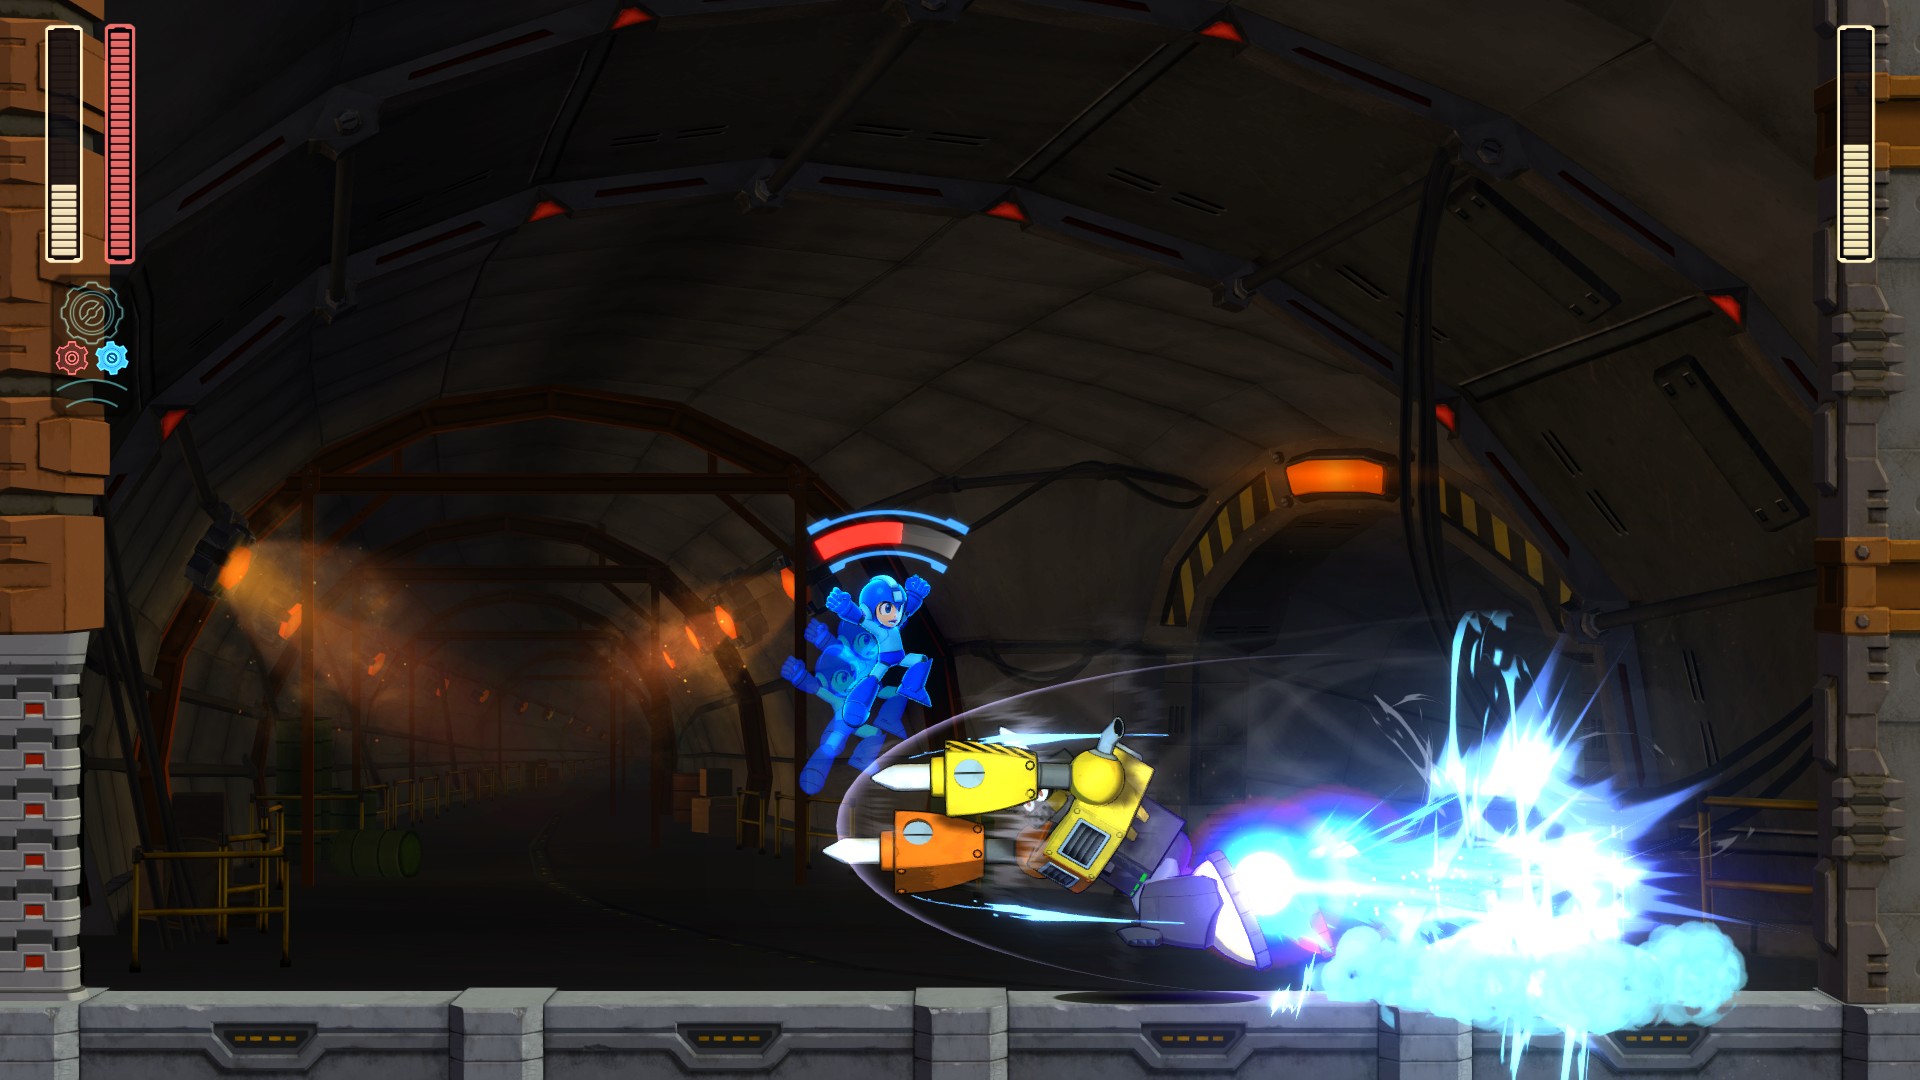
The weapon that works best as Impact Man’s weakness is probably the most difficult to utilise. Patience is needed here because the only attack that is impenetrable to your acid shield are the nails he plants down into the ground. The trick is not to get too hasty when Impact Man turns into a Pile Driver. It’s best to wait it out until he reforms into his normal self to carry on splatting him like an Inkling.
How To Beat Torch Man In Mega Man 11
Weapon Received: Blazing Torch
Weakness: Tundra Storm
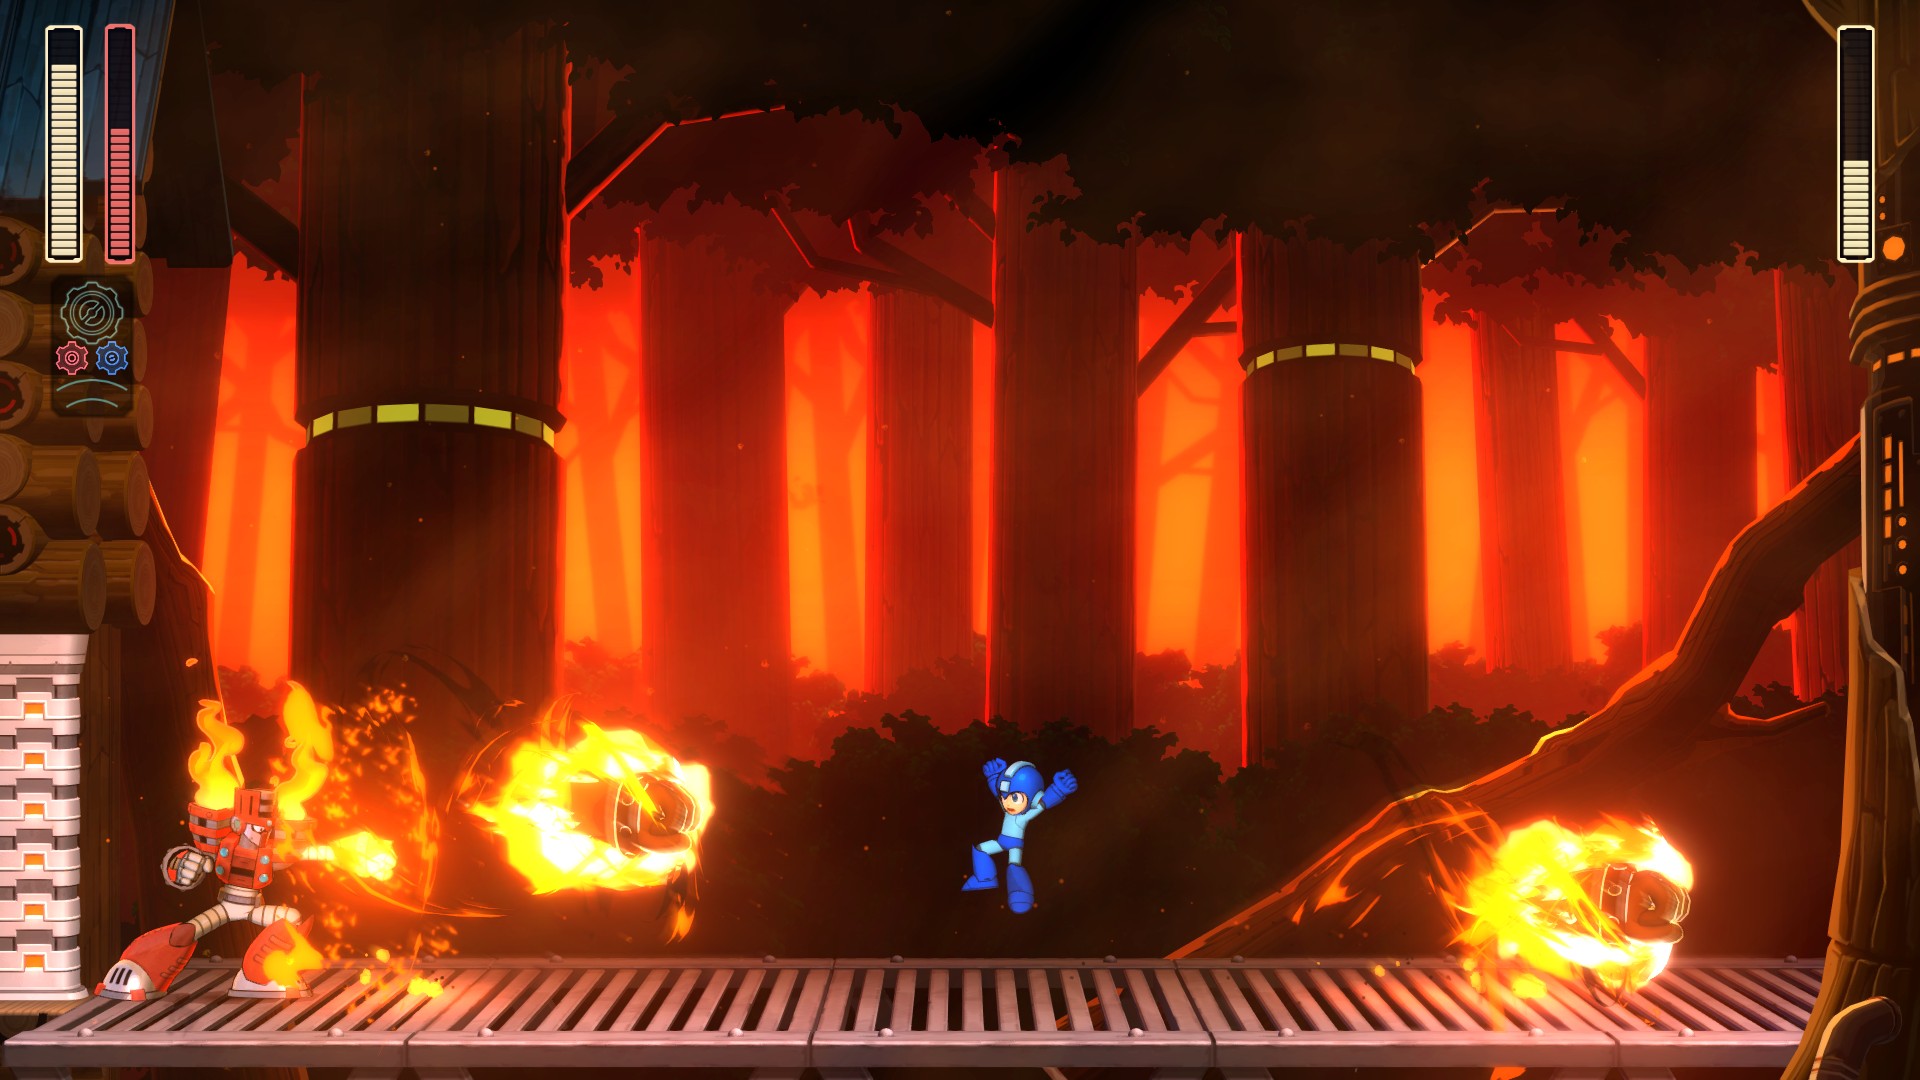
Allow Torch Man to fire off his projectiles and jump over them accordingly. He will then leap into the air ready for a flaming dive kick attack. This will give you a good chance to slide underneath him and put that Speed Gear into full effect. This will then extend the opening you need to blast out a Tundra Storm attack. Remember that Torch Man’s pattern movement is a little more unpredictable than the rest of the Robot Masters. However, with steady use of the Speed Gear System, you will soon take down that flaming sucker.
How To Beat Tundra Man In Mega Man 11
Weapon Received: Tundra Storm
Weakness: Scramble Thunder
You can shock the blades from underneath Tundra Man very quickly with the Scramble Thunder armour. Besides a few twirly hops and a quick dash, the ice skating Robot Master will mostly stay grounded. Let the sparks ride across the floor until you retire him from the rink. Experiment with whichever Gear System you prefer to get the job done faster.
MID-LEVEL BOSSES
How To Beat Cyclone W In Mega Man 11
Weakness: Block Dropper (Power Gear)
Stage: Acid Man
Use the Power Gear to and let it rain bricks. He will barely have time to breathe, never mind attack back.
How To Beat Dread Spark In Mega Man 11
Weakness: Bounce Ball (Power Gear)
Stage: Fuse Man
You may need to get a grasp on the laser patterns for this one if you don’t want to get hit. Try firing the Bounce Ball weapon point blank into the goggles of the rasta-bot with the Power Gear activated. A couple of shots of these to the shades should do the trick nicely.

How To Beat Frog Balloon In Mega Man 11
Weakness: Pile Driver
Stage: Bounce Man
You can make quick work of this little rubber frog-riding fiend by ploughing into him with your Pile Driver. The goofy looking Boyorn’s that he sends floating around can also be dispatched quickly with this tool.
How To Beat Mecha-Mammostal In Mega Man 11
Weakness: Scramble Storm
Stage: Tundra Man
Simply spam your Scramble Storm ability to light up the prehistoric mecha-mammal. The Power Gear will have him extinct in less than 10 seconds.
How To Beat Pickman Digger In Mega Man 11
Weakness: Block Dropper
Stage: Impact Man
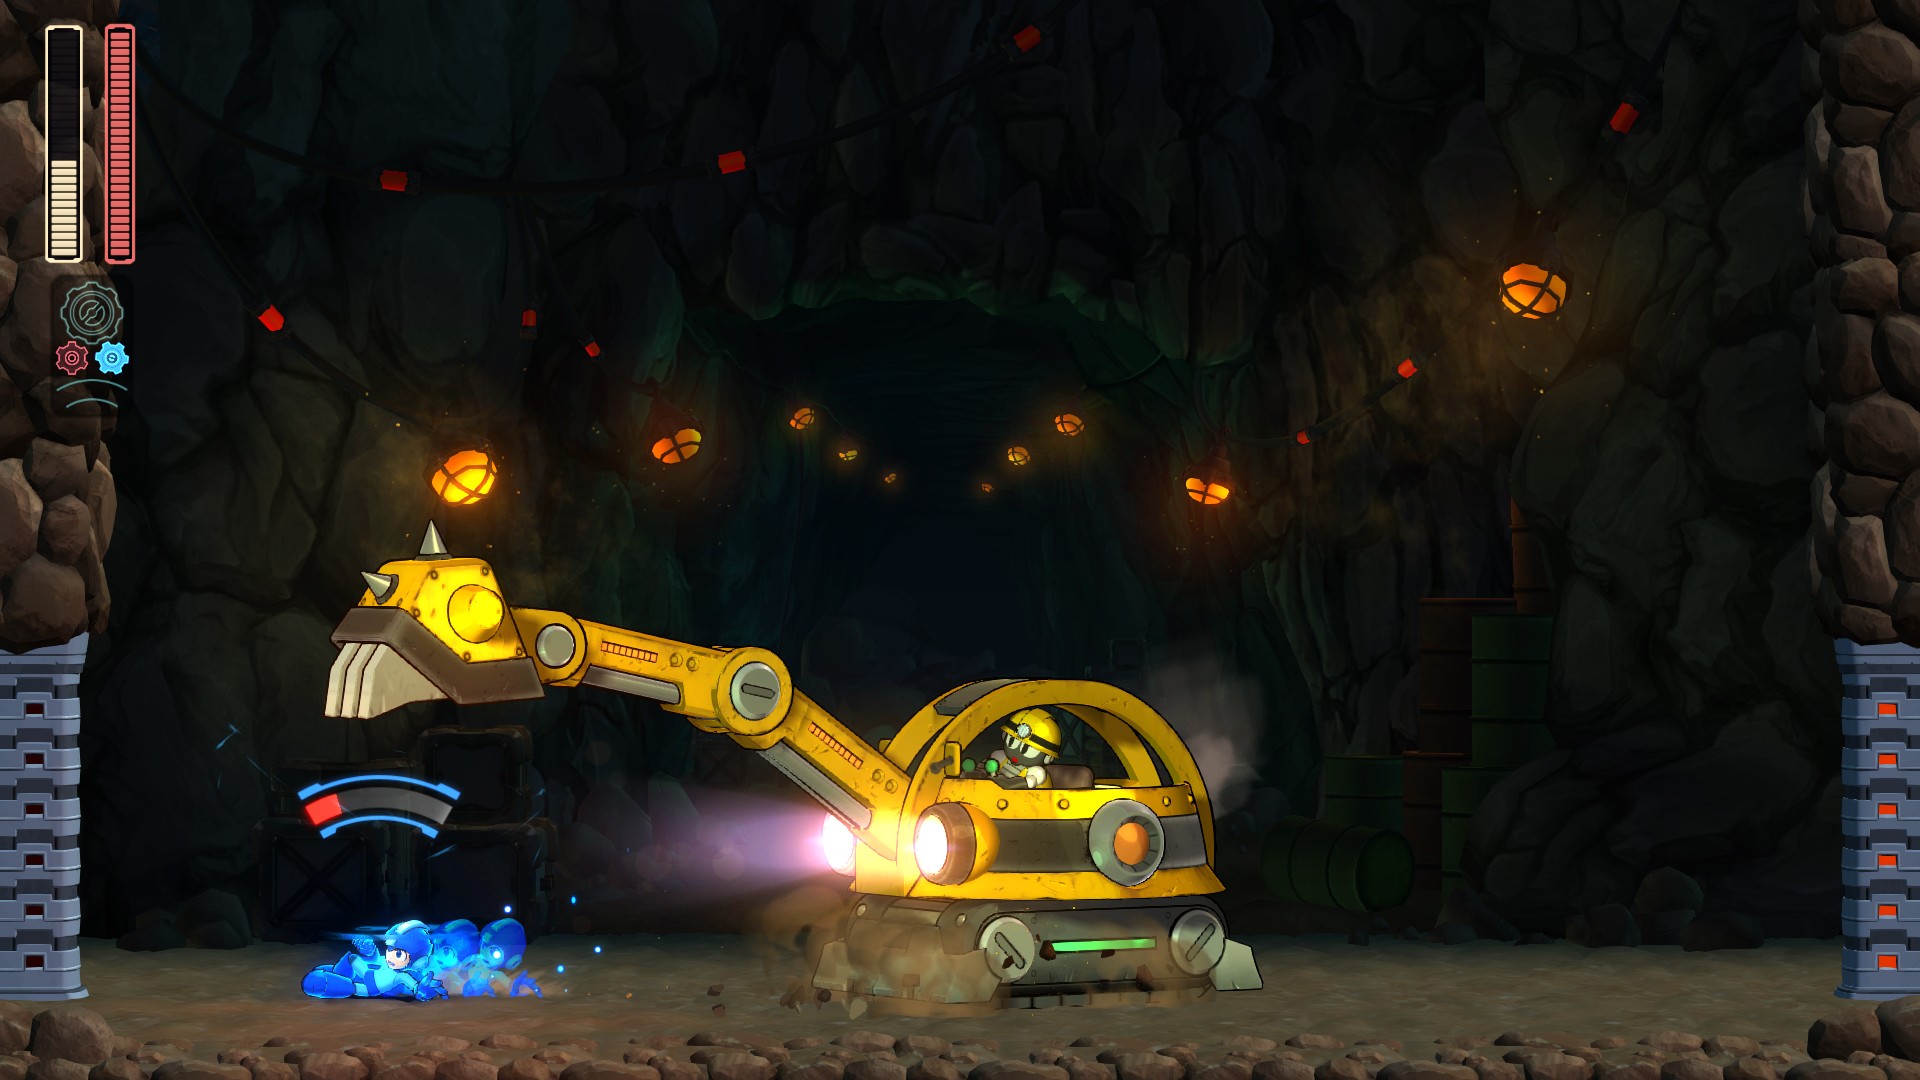
If you don’t have Block Man’s weapon at hand, then Pickman Digger can be an absolute nightmare to face. However, drop a pile of rubble onto his roof with the Power Gear active and you will crush him to pieces in about five seconds.
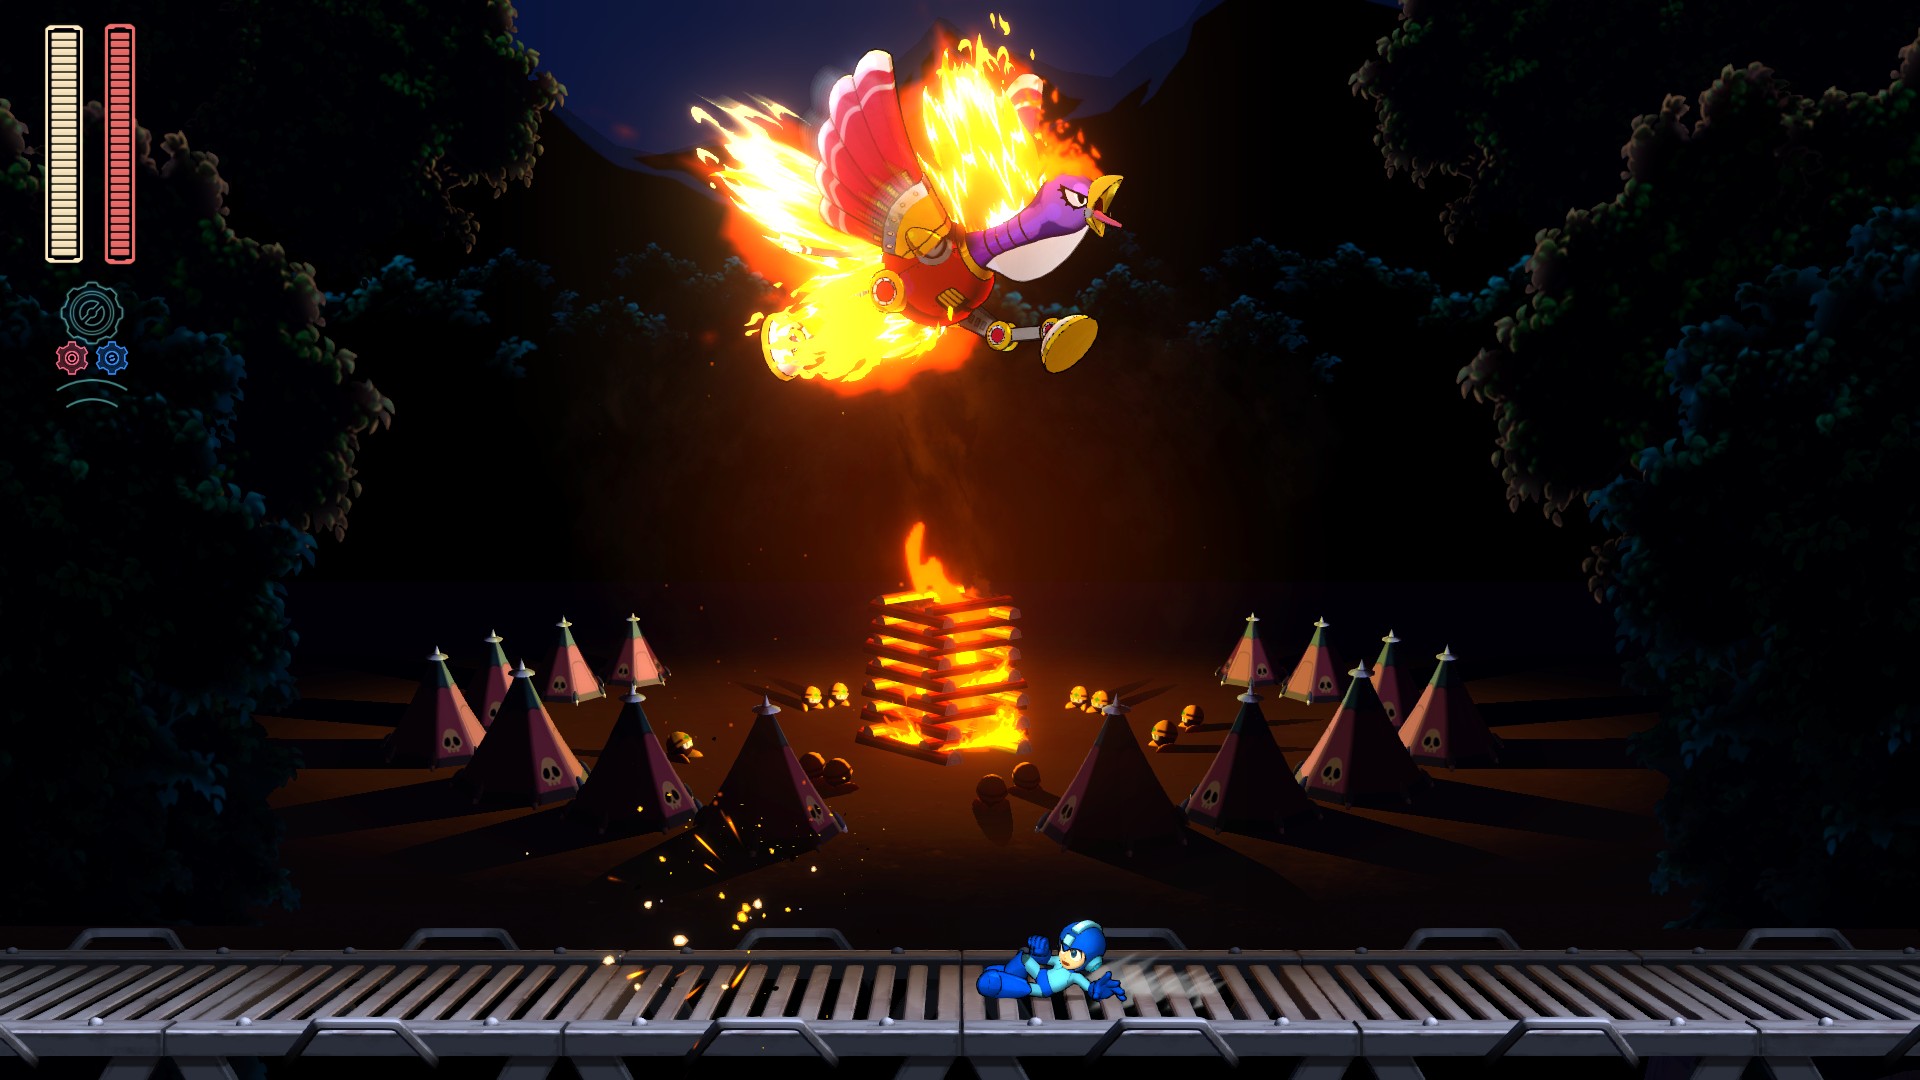
How To Beat Sparkey In Mega Man 11
Weakness: Tundra Storm
Stage: Torch Man
Put the flaming turkey out with the power of Tundra Storm. A couple of shots at close range will make for a fine Christmas dinner.
How To Beat Thrill Twins In Mega Man 11
Weakness: Scramble Thunder (Speed Gear)
Stage: Blast Man
Use the Speed Gear briefly to catch a clean shot. Depending on the carriage position, either aim above, or below you to shock the life out of those pesky little Shimobey.
How To Beat Totomer In Mega Man 11
Weakness: Chain Blast (Power Gear)
Stage: Block Man
Find a gap next to Totomer’s face and let loose with a Power Gear version of the Chain Blast. A few hits with these bad boys will soon turn him into scrap metal
SPECIAL BOSSES
How To Beat Yellow Devil MK III In Mega Man 11
Weakness: Mega Buster (Power Gear)
Stage: Gear Fortress Stage 1
The notorious Yellow Devil is back and this time he’s had an upgrade. Unfortunately for some, this classic problem hasn’t got a quick fix plan. Your Mega Buster is the best tool for the job when mixed with the Power Gear. The good news is that the Yellow Devil always flings his bits at you in the same order. While there are different methods on how to dodge these yellow blocks of doom, I coined up a certain strategy: four jumps, two slides and one jump (the forehead block is the cue for the last jump).
The first four jumps are simple enough to hop over. The first slide is done instantly after the fourth jump.
The second slide is easier to see coming, and the last jump happens directly after the Yellow Devil’s forehead block takes off.
If you nail this sequence down without getting hit, you can fully charge the Mega Buster with the Power Gear for some huge damage. If done correctly, the Yellow Devil will instantly transition into his next pattern.
His next pattern consists of a falling group of smaller Yellow Devils. Stand next to the falling line with your Mega Buster charged. The target to hit will be the last little Devil, so try and time a sneaky shot as he drops down. As the three groups run back towards you, quickly hop over them while keeping your thumb held on the charge button. Find a shot as they run away for another clean hit.
Make sure that you stay in the middle when the Devils run up the wall. They will fall down on top of you while only leaving a small gap. The gap is always at the furthest point of the first falling devil. Run, slide, do whatever you can to scramble towards that space. As soon as the coast is clear, make a quick route back to the central ground, otherwise, the normal version of the yellow devil may land on top of you. Your Power Gear should recover by this point, so use that as an opportunity to repeat the same pattern. With a little practice, you will soon send that Devil back into the gates of Hell.
How To Beat Mawverne In Mega Man 11
Weakness: Bounce Balls (Speed Gear)
Stage: Gear Fortress Stage 2
Mawverne can be a tricky sun of a gun, but with good Speed Gear management and a full clip of bouncy balls you can soon make quick work of him.
A good shot with the Bounce Ball gun will force him to open up his shell. Keep your distance and try and bang in a few more rubber bullets into his shiny pink face. Mawverne has two phases to watch out for. During the first phase, Mawverne will fire a cluster of small lasers at you. This will be a good time to snap on the Speed Gear. However, try to get used to using the Speed Gear in much smaller bursts to ensure that it doesn’t burn out too quickly.
You will know when Mawverne changes into his second phase as soon as he teleports. When he suddenly reappears, crack on the Speed Gear again and plant a few more rubber bullets into his kite. Despite Mawverne having two attacks now at this point, he generally favours the stronger and much faster variant. He will generally fire of three extremely fast and thick lasers directly at you. Your best not relying on your Speed Gear at this point and just concentrate on dodging the three consecutive beats of his shot. Depending on his, and your location, aim to jump the first shot, stay where you are for the second and finally jump again on the third. Once he teleports again, crank that Speed Gear back on and smash him in the face with more pink bullets.
How To Beat Dr. Wily In Mega Man 11
Dr. Wily is the longest boss battle in the game due to fact that he has two seperate energy bars .Dr. Wily also has two versions of his Wily Machine to take down. There are several ways you can approach Dr. Wily, however, in this case, i’ve opted to go for the the bigger damage option.
How To Beat Wiley Machine 11 (V1) In Mega Man 11
Weakness: Chain Blast or Pile Driver (Power Gear for both)
Phase 1: The idea is to aim for the eyes of the skull. The chain blast weapon is a good call here thanks to its lock on ability. Instantly put the Power Gear into effect and try to bang as many powered up Chain Blasts on target. If aimed right, he will quickly move onto his second phase. If you run out of Power Gear, then just keep relying on the standard Chain Blast ability.
Remember to keep your eye on the missiles soaring towards you. They can be used as platforms to gain a good height on target. A powered-up Chain Blast covers a bigger distance, so a good shot will still secure big damage. The thing to mainly watch out for are the falling missiles falling from above. You could either use your Speed Gear to dodge the blast if you have any, or simply keep dodging back and forth to avoid the blast. Finally, if Dr Wily sets up to fly off the screen, make sure to time a Power Slide to dodge underneath him. Wily will then hover back down low enough for you to simply jump and attack. Use either the Chain Blast or Pile Driver to secure some extra damage
Phase 2: During this phase, Dr Wily will form a set of wheels while the skull of the Wily machine sits pretty at the top of the screen. While you can missile-hop high enough to plant a clean shot, it’s much easier, but slightly more risky just to take out his wheels with two clean whacks with the Pile Driver. Once the skull falls back to earth, finish him off with a powered-up Pile Driver by using the Power Gear if it’s already recharged.
Keep in mind that the pattern of missiles stay the same as the first phase. Keep aware of the spinning Wily disc – it can be quite difficult to dodge while on the moving platform. If you do decide to take out the wheels with the Pile Driver, ensure that you instantly reach back towards the left side of the screen. It’s possible that you can get sucked up into the corner behind Dr Wiley and become exposed to missiles. If that’s the case, spam out some more Chain Bombs towards Dr. Wily with the Speed Gear active, (if you have any) to reduce further damage intake.
How To Beat Wily Machine 11 (V2) In Mega Man 11
Weakness: Scramble Thunder, Ball Bounce or Tundra Storm (Power Gear variant)
When Dr. Wily’s energy refills, make sure to equip your Scramble Storm suit. With this weapon, you can aim directly above you – so work on timing that shot. Dr Wiley will begin to pelt a cluster of gears at you. Use the Speed Gear sparingly as an aid to help dive out of the way of them. Keep focusing on the target with Scramble Storm until he finally changes pattern.
He should now have two big mallets rotating around his ship. Change to Bounce Ball and either aim directly at him or towards the floor for a rebound attack. Use the Speed Gear to time an opening so you can slide in between his rotating mallets. Look for any openings and take advantage by utilising the Bounce Ball attack.
Sometimes Dr. Wily can shift into Speed Gear himself. If this happens, don’t just waste your attacks on him. Just sparingly use the Speed Gear to dodge his attacks and wait it out until he gets fed up.
Dr. Wily’s final pattern will try and catch you out by speeding across the screen top speed at different angles. You can either use your Speed Gear to foresee his line of attack and try and hit back with whatever you have left, or you can switch your Power Gear on and try to finally finish him with a screen-filling Tundra Storm Attack. If your health is low at this point, you can always kick in the Double Gear System to give yourself a last chance to nail the more powerful version of a Tundra Storm Attack. It can take a bit of time to finally grasp the patterns of Dr. Wily and does require a bit of finesse with your movements. However, stick to a gameplan and you will soon have the nutty professor begging for mercy.


