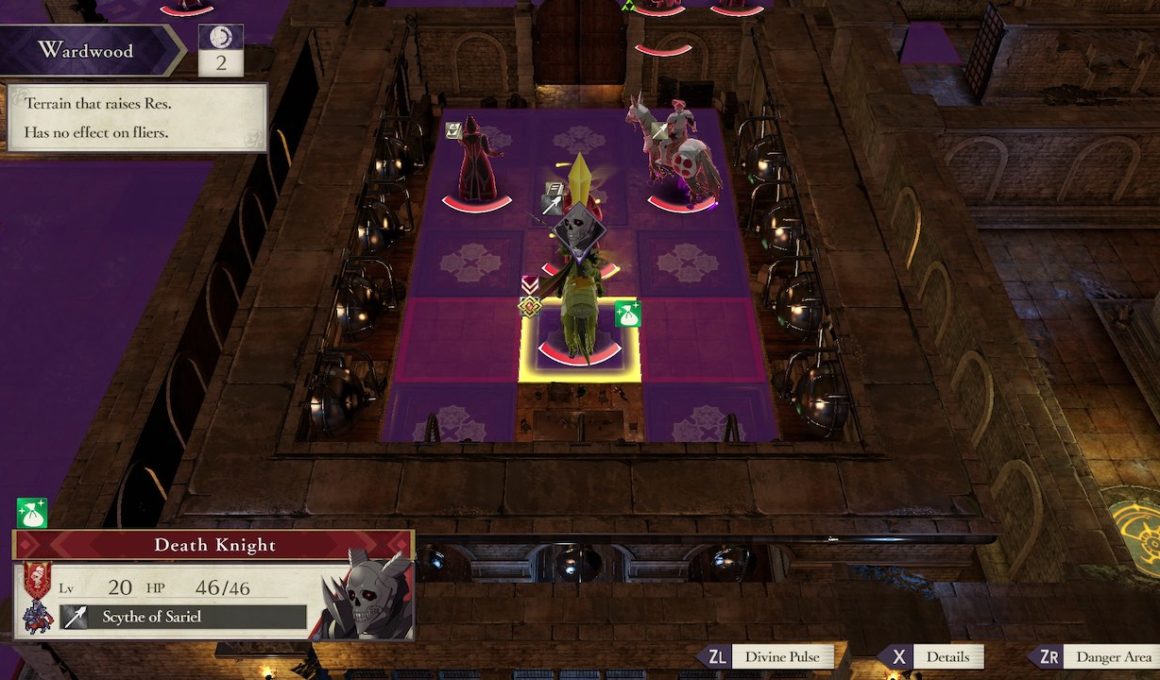
For most, The Underground Chamber will be a challenging battle early on in Fire Emblem: Three Houses. Not only are you placed under pressure to complete it within 25 turns, but you are told that your objective is to defeat Death Knight.
It’s a confusing map, too. Warp Floors are introduced for the first time, letting you teleport units between fixed locations. And then there are other special tiles, such as the Heal Tile (healing units on it each turn), Avo Floor (raised Avoidance), Wardwood (raised Resistance), and Cover (raises Defense).
To make matters worse, after the events leading up to the battle you will be without your house leader. But, fear not, as while there’s much that is thrown in your direction, The Underground Chamber is actually much easier to overcome than you would think.
First up, Death Knight. Unless New Game Plus is helping to boost your characters, it is highly unlikely that you will be able to defeat this mysterious scythe-wielding menace on your first playthrough. The good news is that you don’t need to. Therefore, your more attainable objective is to clear the map of enemies within the 25 turns that you are given to force him to retreat. Easy.
You will need to split up your party, however. Do your best to balance out two teams, and send one through the Warp Floor to work their way up the narrow corridors on the map’s righthand side. There are archers here to make things more difficult for you, so make sure that you have characters that can attack at range.
The rest of your characters will take out the enemies on the map’s lefthand side. Remember to use stronger characters such as Byleth to draw enemies in to attack, before mercilessly ganging up on them. Make sure to cast healing spells and gulp vulneraries as needed, and there’s a Healing Tile in the top-left corner of the map, too.
You will need a fair few Door Keys to, unsurprisingly, open doors on this map, so make sure to target the enemies that are carrying them. It’s one large pincer movement, really. Your two forces will clear the sides of the map before meeting at the top, and charging down the middle to take out the enemies leading to where Death Knight is waiting.
The special tiles can be used to your advantage, but, as enemies can use them as well, it can make things more difficult for you. You can use one of the Warp Floors that you reach on the righthand side to reach a Lever to deactivate them, but I don’t think that it’s really worth the amount of time that would take to have one character away from the action.
With Divine Pulse to help whenever something catastrophic happens, the 25 turns should give you more than enough time to clear the map. Just remember that if you want the Dark Seal that Death Knight is carrying, your best option is to use your fastest character as a Thief before you cut down the last enemy.


very intresting game